Showing posts with label buttons. Show all posts

Sunday, September 16, 2012

Buttons & Button Holes

I love buttons. Adore them. It's my secret addiction. And my sister in law feeds that addiction - she volunteers at her local thrift store, and any clothes that are not sale-able get cut up for rags and the buttons are kept and sold in jars. She sifts through the collection and saves the best ones for me!


Buttons are the most popular type of garment fastener, with endless shapes and sizes and made from so many materials, they are a fun item to work with. They can make a huge impact to the look of a garment. There are three main types of buttons - shank, flat or sew through, and snaps.


Apart from snaps, I rarely buy buttons new. Thrift shops often sell small jars or bags for next to nothing. Another great source of buttons is the Etsy shop Skull Buttonry -all the proceeds from the shop go to Foundation 18's orphanage, education programs and humanitarian work in Indonesia. I bought these gorgeous wood buttons from there.


When sewing on buttons, you can use your machine. Most machines can stitch them on quickly. Personally, I prefer to do it by hand. I find it to be a nice and relaxing way to finish a project (I always sew the buttons on last) and I find I can control the position of the button easier when sewing by hand.

My top tip for hand sewing a button onto a garment is to double your thread. The double thread will add strength and it will take half the time of using a single strand ;) I'm always up for a shortcut!


When creating button holes on your machine, you need the long button hole foot. It will look similar to this:


There will be particular settings you will need to change on your machine to stitch your button holes. Stitch length and stitch selection will both have to be changed - mine are marked on my machine with a small button hole symbol.


I could show you how I set my machine up to sew a button hole, but there isn't much point because everyone's machines will do it slightly differently. So instead, I will give you my top tips.

1. Refer your sewing machine manual. There will be a page outlining all the steps, required settings, with  diagrams and instructions.

2. Search for a videos of your machine's make and model on You Tube. Many sewing machine companies upload instructional videos of their machines. Here is a good one that I found.


3. Practice, practice, practice! I still do a practice button hole on scrap fabric on every project where I need to sew button holes.

4. Mark your button hole position with tailors chalk or a disappearing ink pen. The button hole foot will make it awkward to ensure that the fabric is in the correct position, so it is best to mark it.

5. Don't be scared or intimidated! You will have the occasional stuff up - we all do. Once you sew a couple of button holes, you'll be a pro!


For more tips, tricks and help for sewing beginners, check out my Back to Basics series!

Thursday, July 26, 2012

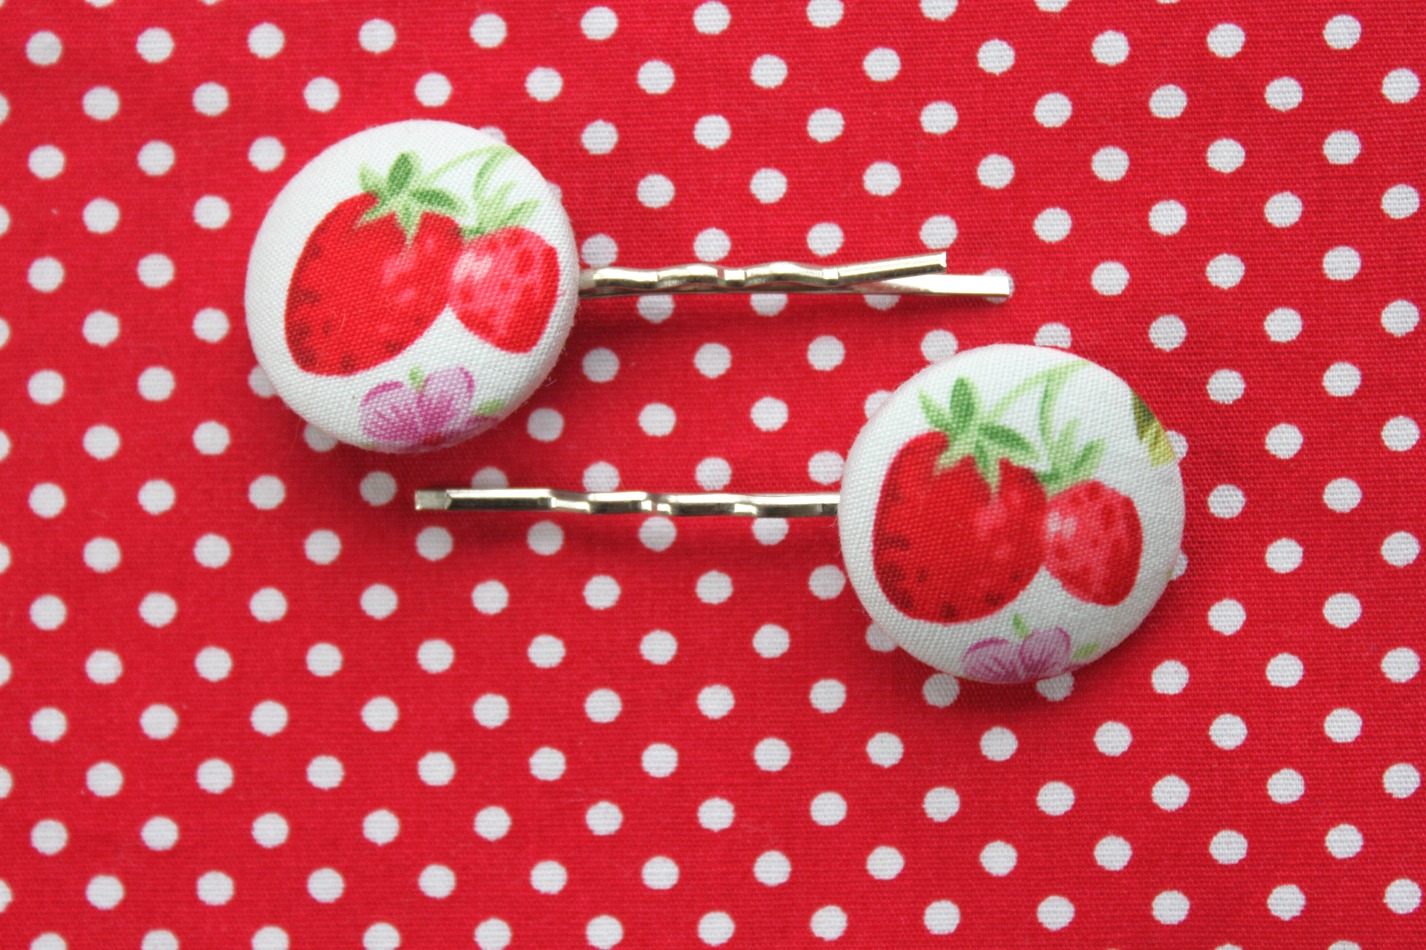
Fabric Button Hair Clips

I've been meaning to make some cute clips for a while - I bought a little kit last year and realised I didn't have the button making tool so the kit languished up the back of the craft cupboard. Then, last week Cass posted this great tutorial on making fabric covered buttons and it gave me that kick of motivation to go and buy the little button tool and get making. Once you've got the stuff you need they are a super quick project.


I used fabric scraps that had small prints. It was tricky to get the fabric to sit in the exact position I wanted it to, but I got better the more buttons I made.


Button covering kits are available at craft stores, but you will find a larger range of sizes online, particularly on etsy. You can buy buttons with a stem to sew onto garments, or flat backed buttons to glue on jewellery findings like earring posts. For the hair clips I've used flat backs. The best glue to use is E-6000, which is a jewellery grade glue.

Hair clip stems are available for great prices at an etsy shop called Skull Buttonry, where all the profits go to Cate Bolt's Foundation 18. Buy crafty items and give money to charity at the same time - YES!


I also made some very cute Little Red Riding Hood hair clips but they have been wrapped up and posted off as a surprise gift for someone who will hopefully get them today!

Now I just have to decide which of these three pairs I will include as part of a birthday gift for one of Anna's little friends who is having a birthday party this weekend. Which are your favourites?

Monday, May 21, 2012

Vintage Lovelies for Sew Mama Sew Giveaway Day! *closed*

Edit: This giveaway is now closed! Congratulations Angelika Oberleitner - you are the winner!!

Woohoo! I adore Sew Mama Sew Giveaway Day! Don't you?


Today I'm joining in for the first time, and I'm loving sewing with vintage fabrics at the moment. So I'm sharing some with you!


 These beautiful fat quarters have been cut directly from some vintage sheets that I have in my stash.


But wait, there's more! A selection of coordinating buttons is also part of the giveaway!


There are up to 5 ways to enter so you have lots of chances! I've decided to use a Rafflecopter widget for this giveaway - it's very user friendly and makes each entry option clear. Good luck and thanks for participating!

This giveaway is open internationally. The vintage fabric has been washed, line dried and pressed, ready to be sent to its new home!
 
a Rafflecopter giveaway
Related Posts Plugin for WordPress, Blogger...