

I love making skirts! And I thought it was time for another skirt tutorial!

Ages ago I thrifted this pillowcase for 50 cents, thinking I would use the fabric for a gift for a little boy.

Anna found it in my stash, pulled it up over her waist with her
feet in the corners and walked around the house saying "Mummy, I want a
dinosaur dress! Will you make it for me?" How could I say no?
I wasn't sure if I had enough fabric for a dress (and I didn't
really want to make a pillowcase dress this time) so I thought a skirt
would be a good option. So here's how I made it. The measurements given
will make a size 2T, so you can add length and width to your pieces
depending on the size of the kiddo you are sewing for.
You won't need much fabric. You will need:
-a pillowcase or 1/2 yard / metre fabric (or a bit less, there will be heaps left over.)
- 1" elastic
- rotary cutter & board, sewing machine, thread, pins (you know, the essentials)
I based the design of the skirt on one Anna already had but it was made from a knit fabric so I had to change the dimensions. The design has a waistband with a casing for elastic and a gathered skirt.
You need to cut 4 rectangles -
2 waistband pieces, 11" x 5" (28x13cm)
2 skirt pieces, 15" x 7.5" (38x19cm)
First I made the waistband. Place the two pieces right sides together and sew both edges with a 1/2cm seam allowance.
I used pinking shears to reduce fray then I pressed the seams open. Feel free to zig zag or overlock (serge) your seams.

Then I made the casing for the elastic. I folded over the top 1/2cm, then over 2cm and pressed.

Sew the casing into place but make sure you leave a small opening to thread the elastic through later.

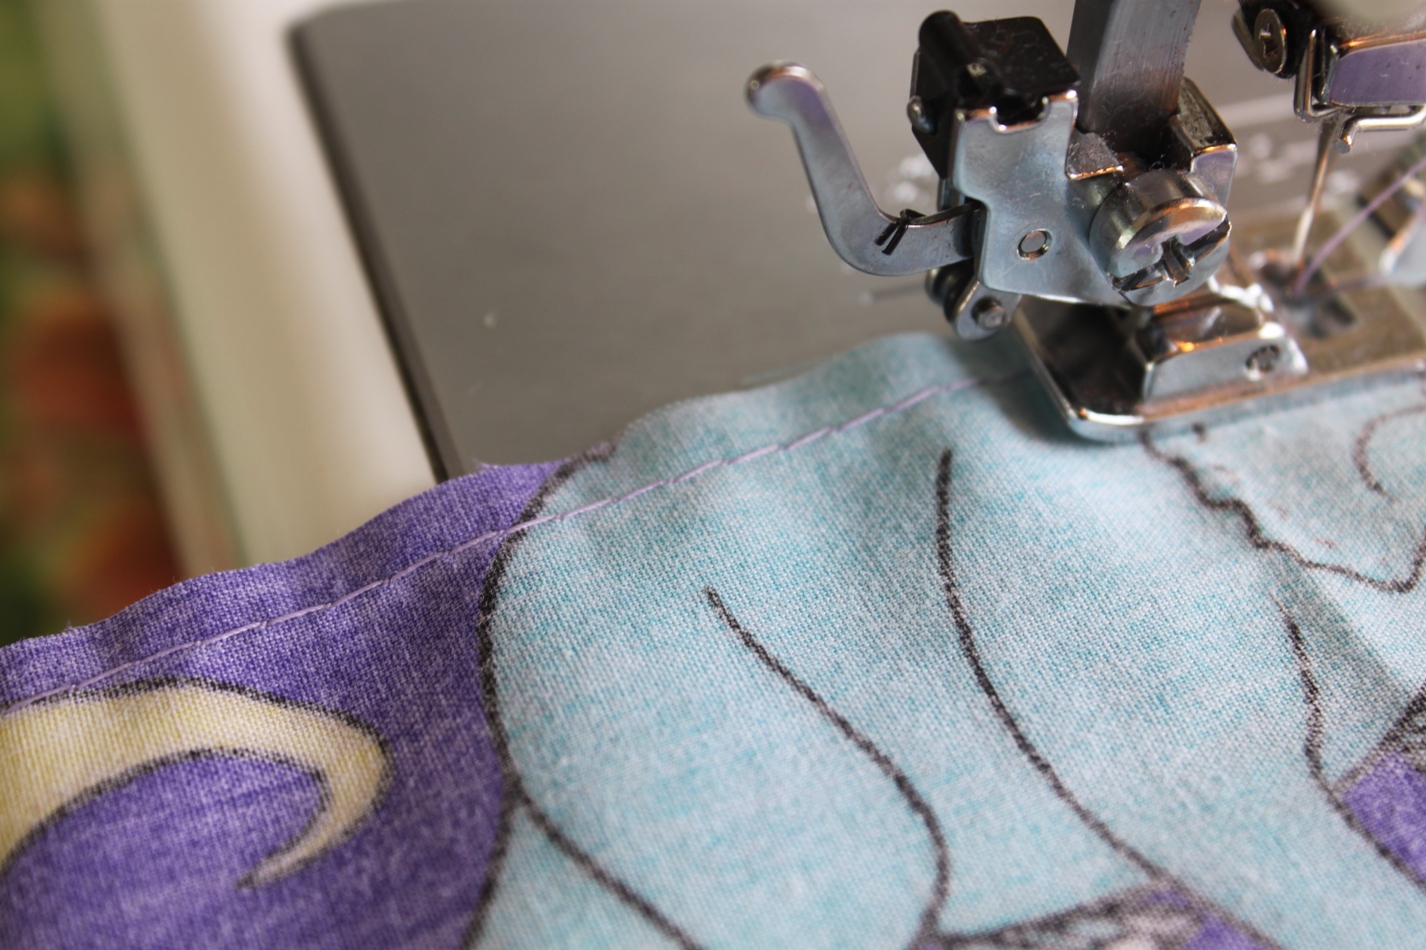
Put the waistband aside for now and take your two skirt pieces. Place wrong sides together, sew up the sides, finish your seams however you choose to. At this point I hemmed the skirt, just because it was easy to do it before I gathered the top of the skirt. You can do it now, by pressing 1/2 cm, then another 2cm and sewing, or you can do it at the end.

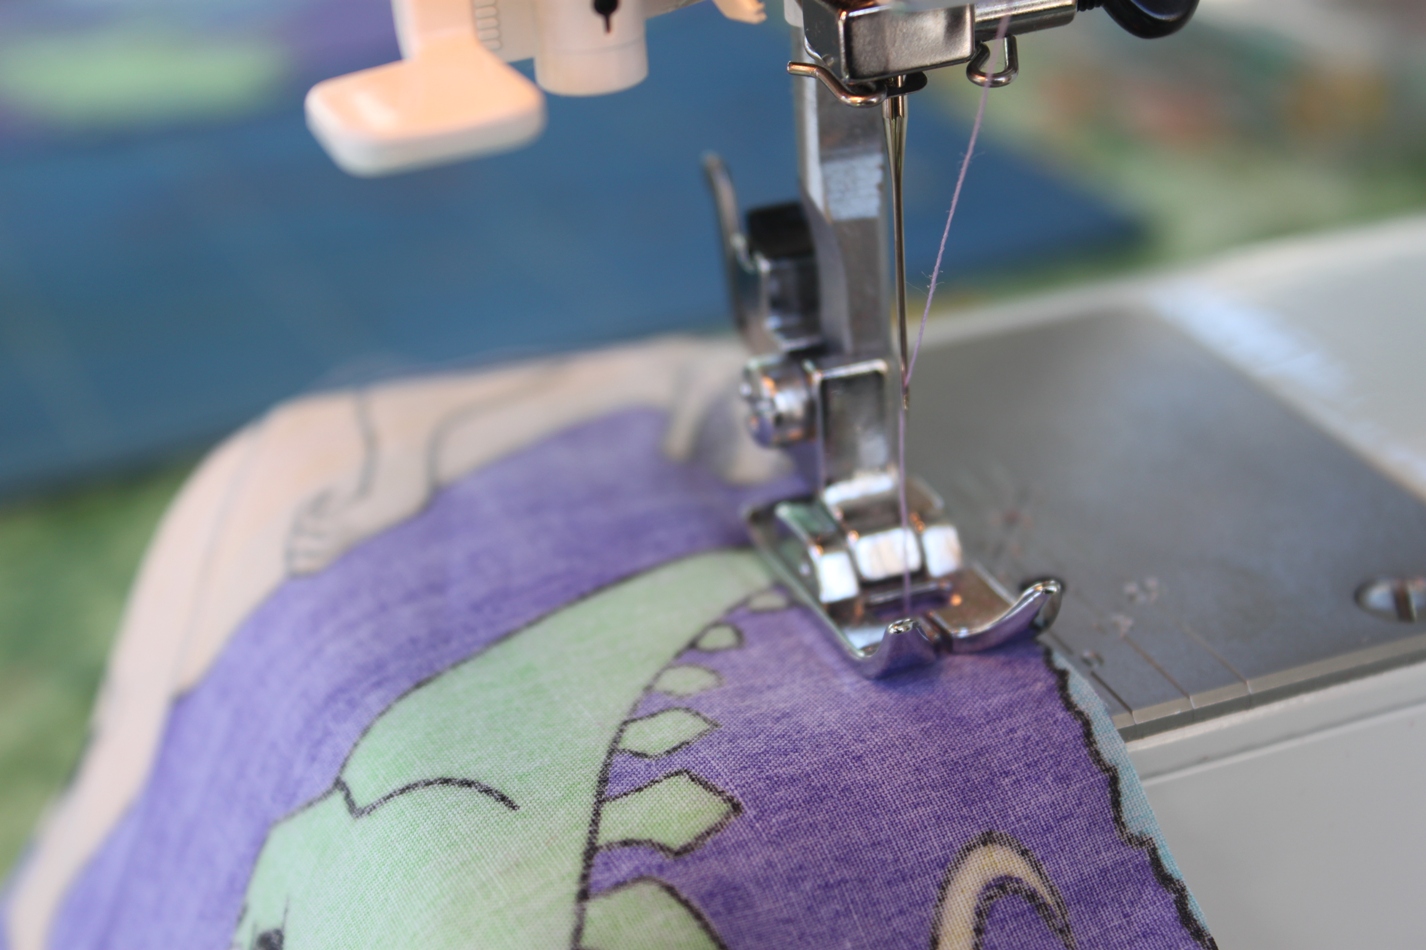
Next, using the longest straight stitch available, sew around the top of your skirt. Only reverse or knot at the end of your stitching, not at the start because you will use the bobbin thread to pull your gathers.
Pull the bobbin thread to make your gathers. Even them out along the top of the skirt and stop gathering once the width matches the width of your waistband.

Place the waistband inside the skirt so that the right sides are together and the raw edges align. Pin them together.

Sew this seam, keeping the gathering stitches between you new seam and the raw edge. (If they accidentally show through later, you can just use your seam ripper to pick them out.)

Finish this seam with a zig zag stitch or serge. Turn skirt the right way out and this is what you should have (sorry for the shadows in the pic) :

Cute huh? Now to finish we just have to pop in some elastic. Cut your elastic, I usually fold it in half and cut it at 2/3 the width of the waist. (serious seamstresses would be horrified by my lazy techniques, but hey, it works for me!)

Attach a safety pin and thread your elastic through the casing. Once through, take the elastic ends and sew them together using a zig zag stitch. It doesn't have to be pretty - no one will see it.

Pop your elastic inside your casing, and sew up the opening.
You are done! Your finished product will look like this:
It is a really easy one and it looks really cute. I hope you give it a go! I would love it if your shared your finished product with me at my Flickr Group!
Cu-ute! and thanks for the great tutorial!
ReplyDeleteSuch a cute, practical, little skirt, which would be perfect for play. Great tutorial, Ros. How do you find the pinking shears work over time with washing?
ReplyDeleteOh my this is so sweet! And little girls can totally rock dinosaurs on something as cute as this!
ReplyDeleteYour girl is SO CUTE! and so is the skirt. Thank you for a great tutorial.
ReplyDeleteI'm your new follower. :)
So cute! I love the first picture!
ReplyDeleteNew follower i'd love if you followed back!
Julianne
www.sewfantastic.blogspot.com
How cute! And what adorable fabric!
ReplyDeleteI love simple to sew and this skirt looks perfect.
ReplyDeleteI featured your project in a recent blog post...
http://radcrafter.com/2011/11/12-diy-christmas-gift-ideas/
Alida
Very sweet! Found you from Pam at Threading My Way! I'm your newest follower!
ReplyDeleteBeautiful skirt. i really like it. buy online g3 sarees from G3 fashions surat.
ReplyDeleteVery cute! And I happen to have some cute dinosaur fabric and a dino-fan little girl... ;)
ReplyDelete