

Have you got lots of scrap fabric lying around? Me too. And lately my oven mitts seem to have disappeared. Although I vaguely recollect one of the girls walking around the house with them on her feet pretending to be a duck, so maybe I need to take a closer look in the dress ups box?
Oh well - after making these pot holders for my Nan for Christmas, I decided to make up a couple more for myself, and take photos of all my steps so I can share a tutorial with you. So here we go!

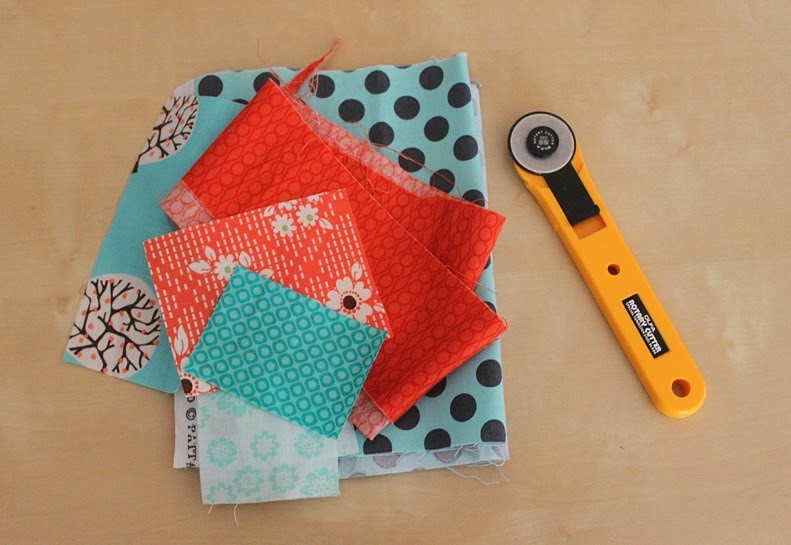
You need:
- assorted fabric scraps
- 10" x 10" (25 x 25cm) piece of cotton quilt batting (not polyester)
- 10" x 10" (25 x 25cm) piece of Insul-bright*
- 10" x 10" (25 x 25cm) backing fabric
- single fold quilt binding - approximately 35" (90cm)

Once you have gathered all your materials, take your fabric scraps to make the patchwork panel for the front of the pot holder. You want it to be approximately 11" x 11" to allow for shrinkage when adding quilting, and also to allow for trimming.
I usually start to make my random patchwork panels with two small pieces, then I build the panel from there.

When creating a patchwork panel I press seams and trim after each addition.

When building your panel, add each new piece along a full edge of the main patchwork piece. You need to work with a whole edge at a time. You can see in the above picture that the new piece will be added along the entire top raw edge. Below, the next piece is added to the bottom raw edge.
There is a really good tutorial on making random patchwork blocks or panels in the book Sunday Morning Quilts which I have referred to often when doing these kinds of projects.

Other alternatives to a patchwork panel for this pot holder are - using quilt blocks, or just one piece of fabric that is 10" x 10". You could also do a more uniform patchwork panel, using only 2.5" squares.

Once your panel is complete and you are sure that it is larger than 10" x 10", sandwich the layers together.

My quilt sandwich for this potholder is: patchwork panel, then cotton batting, then insul-bright, then backing fabric. Baste together with a couple of pins if desired.
Add some lines of quilting to secure the layers together. The layers of batting and insul-bright add quite a lot of bulk so simple lines work best. Once you are done, trim it down to 10" x 10", or so that all the layers meet evenly at each edge.
Next, round off your corners. This is optional but I prefer the rounded edge shape, and it allows the binding to go around continuously rather than having to mitre corners. I use a small plate and a marker to mark the rounded edges.

Then I trim the corners off with my rotary cutter.

Now you are ready for binding. I use single fold binding - these ones were left over from large quilting projects. Align the raw edges of the pot holder and the binding and pin it all the way around.

To finish the binding, carefully stitch the ends together and trim off any excess. You can see my binding seam in this picture.

Stitch your binding on using a 1/4" seam all the way around the raw edge. It might pinch in a few spots around the curves, so stitch slowly and smooth the binding as you go to avoid any pinches.

Trim the edges if you need to, then flip the binding over to the back. Stitch your binding on either by hand (my preferred method, I like the control I have when hand stitching binding) or with your machine.

And then you are finished! While I was at it, I also made another one using pink and blue scraps. I used a lot less quilting lines in this one.

I decided at the last minute to add a couple of loops so I could hang these in the cupboard. I added a small ribbon loop and secured it by stitching on the little apple button.You can also stitch a loop into the binding when sewing that on.

They are both a little bit wonky, so lucky I am not a perfectionist. I really like them both though,and I'm particularly smitten with that orange and aqua colour scheme. Talk about cooking in style!
If you make any I'd love to see them! Share them with me on Instagram, on my Facebook page or add them to my flickr group. I can't wait to see your fabric combinations!
If you need to scrap bust even more, I recommend you check out my scrappy fabric pouch tutorial too!
Lovely fabric choices, I have far too many scraps that need using up and I think your pot holders would make fab Christmas gifts...........I think I may be starting my gift making early this year, thanks for the tutorial.
ReplyDeleteYou are welcome :) They are great for Christmas and also as housewarming gifts!
DeleteGorgeous collection of scraps. Potholders are certainly useful in the kitchen especially when you are cooking up a storm. Pretty and so practical.
ReplyDeleteThanks Zena! They are also handy as trivets :)
Deletethanks for sharing Ros - so useful. And the little buttons are so cute!
ReplyDeleteThey are cute! My mitt goes missing all the time too apparently they're awesome puppets lol.
ReplyDeleteIs that insulating batting expensive?
Thanks! No it is pretty cheap, at Spotlight it's about $10 per metre I think. I only bought 30cm and made 4 pot holders from it.
DeleteI love all the quilting you do with scraps of fabric, Ros. You have an eye for matching fabrics!!!
ReplyDeleteThat's a fantastic way to not only use my scraps but also to practice quilting! Thanks for sharing the tutorial :)
ReplyDeleteThese would make a lovely gift - thanks for the tutorial :)
ReplyDeleteLovely pot holders. Thanks for the tutorial.
ReplyDeleteThese are so cute and I especially love the little apple buttons.
ReplyDelete